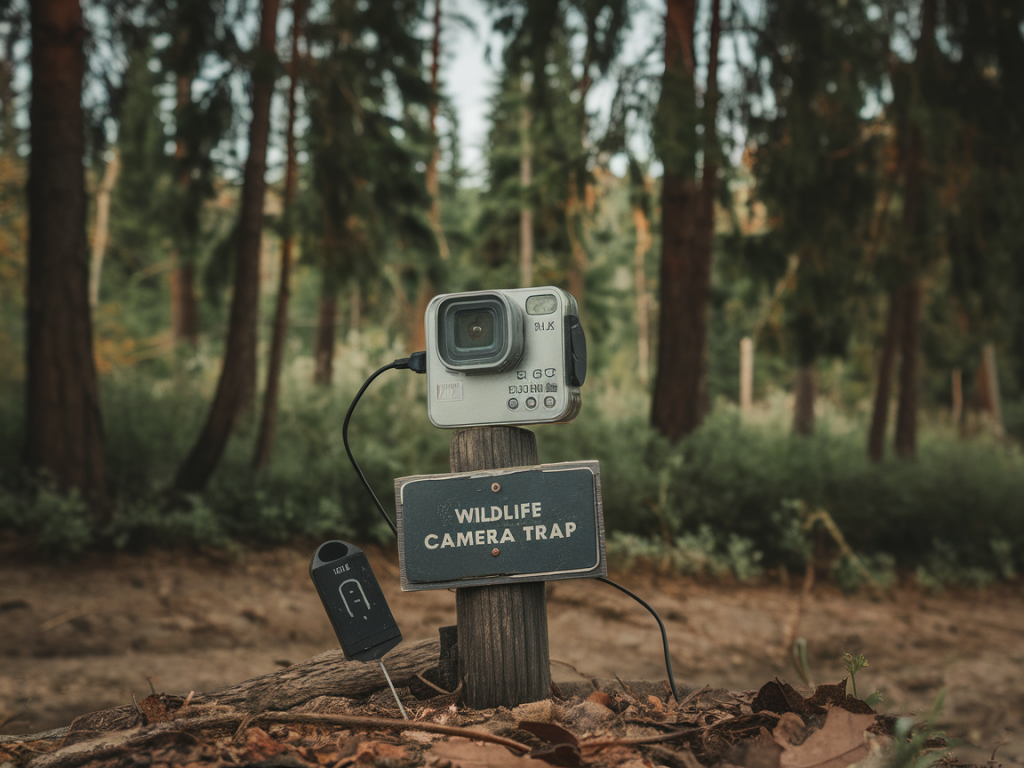
I’ve been experimenting with passive camera trapping for years, mostly to catch shy, nocturnal mammals that are hard to photograph by hand. Recently I started repurposing old action cameras — GoPros, SJCam models and similar — to build cheap, lightweight passive setups that work well for foxes, badgers, hedgehogs and small mustelids. In this post I’ll walk you through what I use, how I mount and trigger the cameras, and the ethical checklist I always run through before leaving kit in the field.
Why use an old action cam for passive trapping?
Action cameras are compact, robust and often already have decent low-light performance for their age. If you’ve got an older GoPro (Hero 3/4) or a spare SJCam knocking about, you can make a functional passive camera trap for a fraction of the cost of a dedicated wildlife camera. They’re also versatile: you can use them handheld for quick night checks, or lock them into a mount for long-term deployments.
There are some trade-offs — battery life, triggering speed and motion sensitivity aren’t as good as modern trail cameras — but with a few clever mounts and trigger hacks you can get excellent results without breaking the bank.
Key components I use
Action camera — An older GoPro Hero 3/4/5, Xiaomi Yi, or SJCam works well. Choose the best sensor you can find.External battery pack — A small USB power bank (5,000–10,000 mAh) keeps the camera running for long periods. I use Anker PowerCore units because they’re reliable and weather-resistant.Wide-angle lens or stock lens — I usually keep the stock lens for broad scene coverage, but you can add a neutral-density or night-specific filter if needed.Mounting options — Small ball-head tripod mounts, RAM ball mounts, or DIY wood/aluminium brackets. I prefer a low, ground-facing mount for mammal faces.Triggering method — PIR sensor linked to a relay, laser tripwire, or audio-triggered recording. I’ll explain these below.Enclosure — Pelican-style cases or DIY waterproof housings. You can also use the camera’s original waterproof case if you have it.Camouflage materials — Gaffer tape, burlap, matt spray paint for housings, and local leaf litter to hide shiny parts.Mounting: low, stable and animal-proof
For small to medium nocturnal mammals I aim the lens about 20–40 cm above ground and slightly angled down. This framing captures faces and movement while limiting false triggers from wind-blown vegetation.
Low tripod + rubble base: Use a low tabletop tripod or a mini ball head mounted on a wooden stake driven into the ground. Surround the base with stones to prevent easy theft or tipping by curious badgers.Clamp + tether: Clamp the camera to a tree trunk or branch with a small cable lock. Add a thin steel wire tether to the mount and anchor it to the ground so anything that tries to steal the camera will still leave you with the housing.Camouflage housing: Put the camera in a matte black or green case and cover the front edge with scrub to break up the silhouette. Avoid covering microphones or ventilation ports needed for triggering.Trigger options — pros and cons
Triggering is the heart of a passive setup. Here are the methods I’ve tried and when I use each.
| Trigger type | Pros | Cons | Best use |
|---|
| PIR motion sensor (relay) | Reliable at dusk/night, low false triggers from wind | Requires wiring or microcontroller; latency can be a bit slow | Long deployments where battery and reliability matter |
| Laser tripwire | Fast trigger, good for focal paths | Visible beam may disturb wildlife; limited field coverage | Small tunnels, burrow entrances, hedgehog runs |
| Audio trigger | Useful for species that vocalise; no visible components | False triggers from nearby traffic; complex setup | Owls calling, fox vocalisations |
| Continuous time-lapse | Simple; no extra electronics | Consumes storage and battery; lower chance of catching brief visits | Short deployments or day shoots |
My favourite is a PIR sensor connected to a small relay that emulates a button press on the action cam. You can buy pre-built modules (search for “PIR camera trigger relay”) or build one with a cheap Arduino/ESP8266 and a solid-state relay. I set the PIR sensitivity low and add a 1–2 second camera buffer to catch movement after the sensor fires.
Setting up the trigger with an old GoPro (practical steps)
Open the camera’s Wi‑Fi and set it to remote mode if applicable (some older models allow remote start/stop via the app or a wired shutter button).Wire a relay to the camera’s external shutter contacts (or to a dummy button inside the housing). If the camera lacks external contacts, you can emulate a button press by mechanically depressing the shutter via a solenoid.Mount the PIR sensor 30–60 cm to the side and slightly higher than the lens, angled to cover the target zone. Use flexible conduit to protect wiring.Test at dusk with a torch to see the trigger area, then tweak sensitivity and delay.Connect a power bank that supplies both the camera and the PIR (use a USB splitter if necessary). Place everything in the housing and seal carefully.Ethical checklist before you leave kit in the field
Permissions: I always get landowner permission for private land and check local bylaws for public sites. Never set traps on protected nesting sites without authority consent.Welfare: Avoid placing cameras where animals can become entangled or where baits would cause dependency. Don’t use bright lights or flashes that could blind or stress nocturnal mammals.Minimal disturbance: Approach the site quietly, limit vegetation clearance, and leave no permanent markers beyond a discreet anchor.Check regularly: Visit your site every few days where possible to replace batteries, check for damage and ensure no animal welfare issues have arisen.Data security: Treat footage responsibly — if your recordings show people, remove or blur identifying details before publishing. Be cautious with exact location details for sensitive species.Leave no trace: Remove all kit after the study period and restore any disturbance. If you use bait, remove leftovers and packaging.Practical tips from my field tests
Use warm-up shots: run a time-lapse overnight first to ensure framing and battery life before relying on triggers.Keep noise down — some action cameras have loud mechanical shutters; muffling inside the housing reduces disturbance.Label your gear and use unique file-naming conventions so you can track which deployment produced which clip.For hedgehogs and small mammals, set the camera to 1080p at 60fps if possible; the extra frames help with ID in low light.If you rely on battery packs, use one dedicated to the camera and another to the trigger so you don’t lose both to a single failure.Using an old action cam as a passive camera trap is a rewarding, low-cost way to document nocturnal mammals. It forces you to think carefully about placement, ethics and craftmanship in a way that buying a plug-and-play trail camera doesn’t. If you’ve got kit gathering dust, give it a try — and if you want, share a photo of your setup and I’ll offer feedback on mounts and trigger placement.