I spend most shoulder-season walks juggling temperature swings: chilly starts, sweat on climbs, sudden drizzle, then a cold wind on the ridge. If you only want one midlayer to carry in a 20L rucksack and trust to keep you warm and comfortable, it has to be versatile, packable, and reliable when wet. Below I share how I choose that single midlayer for UK spring and autumn hikes—what features matter, trade-offs between materials, how to fit it into a small pack, and a few specific models I’ve tested in real weather.
What “one midlayer” needs to do
For me the midlayer needs to:
- Provide core warmth during rests and when wind or rain knocks the temperature down.
- Be breathable enough to avoid overheating on climbs if I’m wearing it rather than packing it.
- Pack small enough to live in a 20L rucksack alongside food, a waterproof, camera, and other essentials.
- Perform acceptably when damp—UK conditions mean you’ll often be dealing with wet from rain or sweat.
- Be durable enough to handle branches, boulders and, in my case, camera straps.
Materials: fleece, synthetic insulated, or down?
Each material has strengths and compromises. Choosing the right one is about matching the midlayer to how you hike.
Fleece (classic or grid fleece) is breathable, quick to dry, and abrasion-resistant. A Polartec Classic or grid fleece is great for active hikes where you’ll wear it during climbs and use it for quick warmth at stops. Downsides: bulkier than insulated jackets at the same warmth and poor performance when wet.
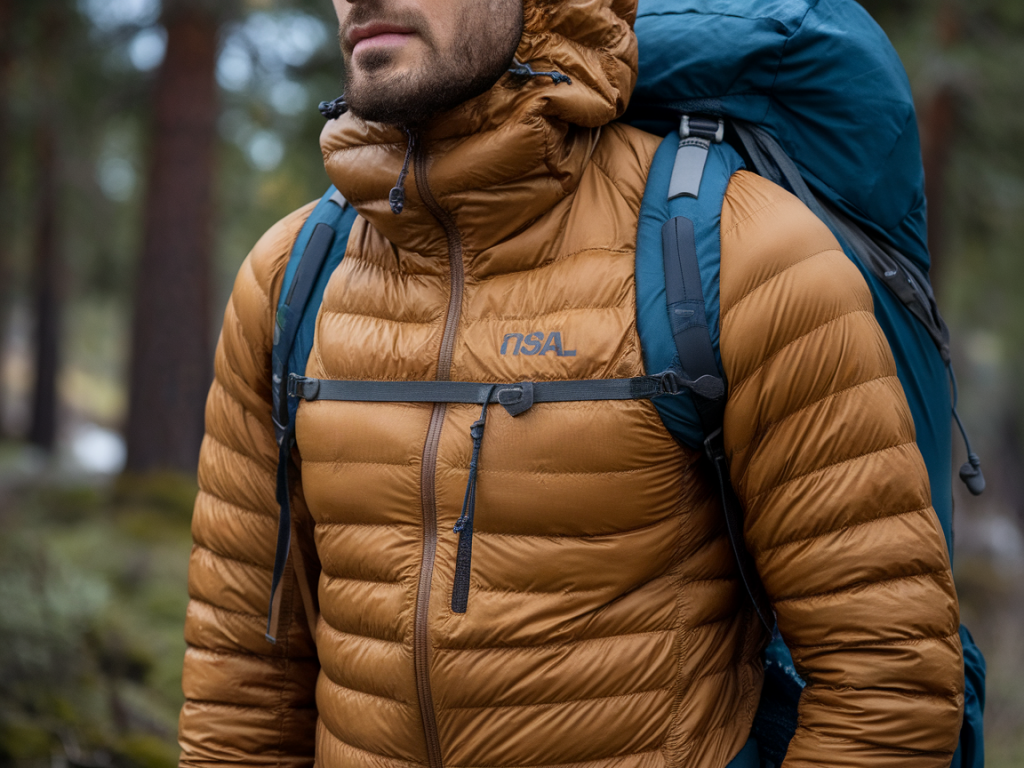
Synthetic insulated jackets (e.g. PrimaLoft, Pertex) are a solid all-rounder. They compress well, retain loft and warmth when wet, and bridge the gap between fleece and down. They’re heavier than equivalent down for the same warmth, but in UK damp conditions that trade-off often makes sense.
Down is unbeatable for warmth-to-weight and compressibility, but it loses loft when wet unless you choose hydrophobic-treated down. For shoulder-season UK hikes, I personally only pick down if I know I can protect it with a waterproof shell or when I’m prepared to accept a wet-weather limitation.
Key design features to prioritise
- Packability: Your midlayer must compress into or onto a 20L pack without stealing all the space. Look for jackets that compress into their own pocket or come with a small stuff sack.
- Weight-to-warmth: Check grams per warmth (not a strict metric but useful). For shoulder-season, aim for a midlayer offering around 100–250 g fill-equivalent warmth in synthetic or 600–800 fill down if you go down.
- Fit and layering compatibility: A trim fit that allows a base layer underneath and a shell over the top is ideal. Avoid bulky cuts that make layering awkward in a small pack.
- Hood vs hoodless: A low-profile hood that fits under a helmet or over a beanie is useful. Hoods add warmth and pack relatively flat.
- Cuffs, hem drawcord and full-length zipper: These let you dump heat quickly on climbs and seal warmth at stops.
- Pockets: Two hand pockets (zippered) that convert to a stuff sack is a neat feature. Interior chest pockets are useful for storing a phone or map.
How to fit a midlayer into a 20L rucksack
Space in a 20L is precious. My packing strategy:
- Wear the midlayer at the trailhead if cold. If not, stash it compressed at the top of the pack in a lightweight stuff sack.
- Compressible synthetic or down fits best in a small sack—put it in the base or top depending on whether you need to access it frequently. I keep mine at the top when I expect frequent temperature changes.
- If your midlayer is a fleece that doesn’t compress much, roll it and place it around a thermos or camera lens as extra padding.
- Use the midlayer as a pillow by stuffing it into its own hood when you stop—simple but effective.
Temperature and activity guidance
These are rough guides—individual tolerance varies:
- Active hiking (steady pace): thin fleece or lightweight synthetic midlayer (100–150 g equivalent) is usually fine in 5–15°C when you’re moving.
- Mixed activity or stops: a midweight synthetic insulated jacket (150–250 g equivalent) covers 0–10°C comfortably at rest.
- Windy ridges or colder days: choose a higher loft synthetic or treated down and always pair with a windproof shell.
Specific midlayers I recommend
I’ve tested several options on UK walks. Here are three that strike different balances for a 20L pack:
| Model | Type | Why I like it |
|---|---|---|
| Rab Cirrus Flex Hoody | Synthetic insulated | Good warmth-to-packability, durable face fabric, performs well damp; fits neatly into a 20L |
| Patagonia Nano Puff | Synthetic insulated | Very compressible, light, decent warmth when wet, stylish for town/field crossover |
| Montane Prism Jacket | Fleece/softshell hybrid | Great for active use—breathable, hard-wearing and layers well under a shell |
Practical tips from the field
- Test your choice on a couple of local shoulder-season walks before committing—try wearing it on climbs and stopping to feel how it handles condensation/wind.
- Match the midlayer with a reliable waterproof shell. A breathable shell protects warmth and prevents down from getting soaked.
- Take care of synthetics and down: wash per manufacturer instructions and treat down with a hydrophobic treatment if you rely on it in damp weather.
- When in doubt, pick synthetic for UK shoulder-season—you’ll get consistent performance when conditions turn wet unexpectedly.
- Consider everyday usability: if you want a jacket that doubles for coffee stops or travelling, pick something that looks good off-trail too.
Choosing one midlayer is about accepting trade-offs and prioritising the elements of warmth, wet-weather performance and packability that matter most to how you hike. In my experience, a compact synthetic insulated jacket combined with a lightweight, breathable shell covers most UK shoulder-season scenarios while fitting neatly into a 20L rucksack—leaving room for camera gear, food and the small comforts that make a day out enjoyable.