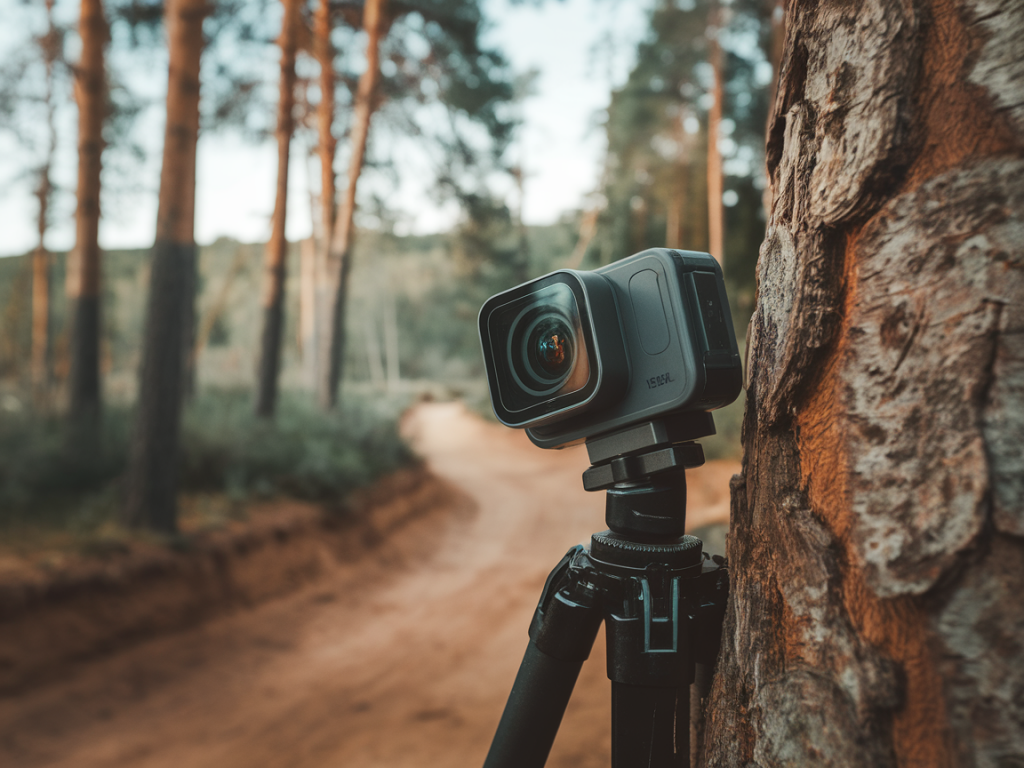
I’ve spent a lot of nights walking quiet tracks and watching hedgerows from the edge of a torch beam, and one of the most rewarding ways I’ve found to document shy, nocturnal mammals is with a simple, budget action-cam set up as a trail recorder. You don’t need an expensive dedicated camera trap to capture good footage — with a little thought about ethics, placement and settings you can record foxes, badgers, hedgehogs and small mustelids in a way that’s both informative and minimally disruptive.
Why use a budget action-cam?
Action cameras (think GoPro-style or budget alternatives such as AKASO, ThiEYE, or the nascent Insta360 entry models) are lightweight, rugged, and relatively inexpensive. They can shoot decent low-light video, are easy to mount, and many accept large microSD cards and external power sources. For people starting out — or anyone wanting to document behaviour rather than just presence — they’re a practical compromise between cost and capability.
Ethics and welfare: the first things to consider
I always begin with ethics. No recording is worth stressing or endangering wildlife. Before you deploy a camera, ask yourself:
Use infrared or low-glow illumination rather than white LEDs for nocturnal mammals. Don’t place cameras directly in front of a den or nest entrance. Keep visits to check the camera brief and infrequent, and never leave bait that might change natural foraging patterns unless you’re following local guidelines and conservation best practice.
Choosing the right camera and accessories
Here are practical things I look for in a budget action-cam trail recorder:
Brands: GoPro is obvious but pricey. I’ve had good results with current-gen budget cameras from AKASO and SJCAM for stills and 1080–4K video, particularly when combined with external power and an IR illumination source.
Triggering: motion detection vs timelapse vs external PIR
One question I get often: “Should I use motion detection or a time-lapse?” My answer varies according to the species and habitat.
I often run a hybrid: time-lapse as default (2–3s) and an external PIR to start high-frame-rate recording when an animal enters the scene. That saves battery and card space while ensuring I don’t miss behaviour.
Illumination and visibility
Nocturnal mammals see differently to us. White LEDs will almost always change behaviour and can disturb feeding or defensive responses. Instead, opt for:
Balance is key: too faint and you won’t get usable images; too bright and you alter the scene. Test different distances and angles during daytime and dusk to find what works.
Placement, framing and camo
Think like an animal. Place cameras at the expected travel height for the species: hedgehogs low to the ground, foxes around 30–40cm, badgers slightly higher. Consider sightlines (avoid pointing at sky or reflective surfaces) and provide a natural and consistent focal point — a rut in the grass, a fallen log, or a small scrape often works better than an open patch of leaf litter.
Power and storage management
Long deployments need continuous power and plenty of storage. My checklist:
Also use a log sheet or simple GPS tag in your phone to record deployment site, orientation, start/end times and any changes. That data saves time when you review footage.
Data review and post-processing
Watching hours of night footage is the least glamorous part, but it’s where you find the moments. I use a basic workflow:
For documentation and citizen science, include timestamps and location metadata (but be mindful of sharing precise den locations in public forums).
Common questions I hear
“Will this upset the animals?” — If you avoid bright lights, limit visits and don’t bait, disturbance is minimal. Test and observe from a distance before deploying.
“Can you identify small mammals from action-cam footage?” — Often yes. Hedgehogs, badgers, foxes and larger mustelids are distinct. For tiny shrews or voles, you may need closer framing, higher resolution and slower frame rates to see diagnostic features.
“Do I need permits?” — In the UK, casual observation and filming of wild mammals is generally allowed, but protected sites or species-specific restrictions may apply. If you’re recording on private land, get permission. When in doubt, check local wildlife regulations or contact a local conservation group.
Useful budget kit list
| Item | Why I use it |
| Budget action-cam (AKASO/GoPro clone) | Affordable, rugged, decent low-light options |
| External PIR trigger | Reliable motion activation without heavy battery drain |
| Portable power bank + dummy battery | Extended deployment time |
| IR illuminator (850nm or 940nm) | Low-impact night lighting |
| MicroSD 128GB | Store long timelapses and triggered clips |
| Small ball-head + straps | Flexible, low-impact mounting |
Setting up a budget action-cam as a trail recorder has one irresistible benefit: you learn to observe differently. The constraints of battery life, trigger reliability and ethical considerations force you to prioritise what matters — patient observation and respect for the animals. When you do capture that brief, unhurried moment of a badger padding through dew or a hedgehog snuffling across a path, the footage becomes more than a clip; it’s a record of behaviour you’d otherwise have missed.