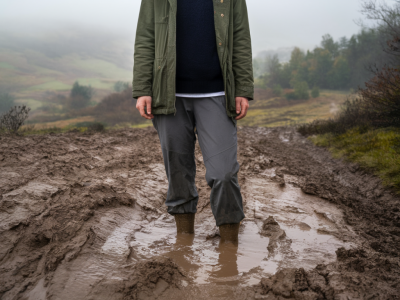
I’ve spent countless hours walking Britain’s coastlines with a camera on my chest and a full pack on my back. Long coastal days can be brutal on shoulders and lower back: constant wind, narrow paths, slippery rocks and the need to carry camera gear that doesn’t like to be jostled. Switching to an Osprey pack with their Anti-Gravity suspension and well-thought-out bagging features changed how I approach those days. In practice the result is less fatigue, fewer sloppy photos and more time watching light than nursing sore shoulders.
What do walkers and photographers mean by "bagging system"?
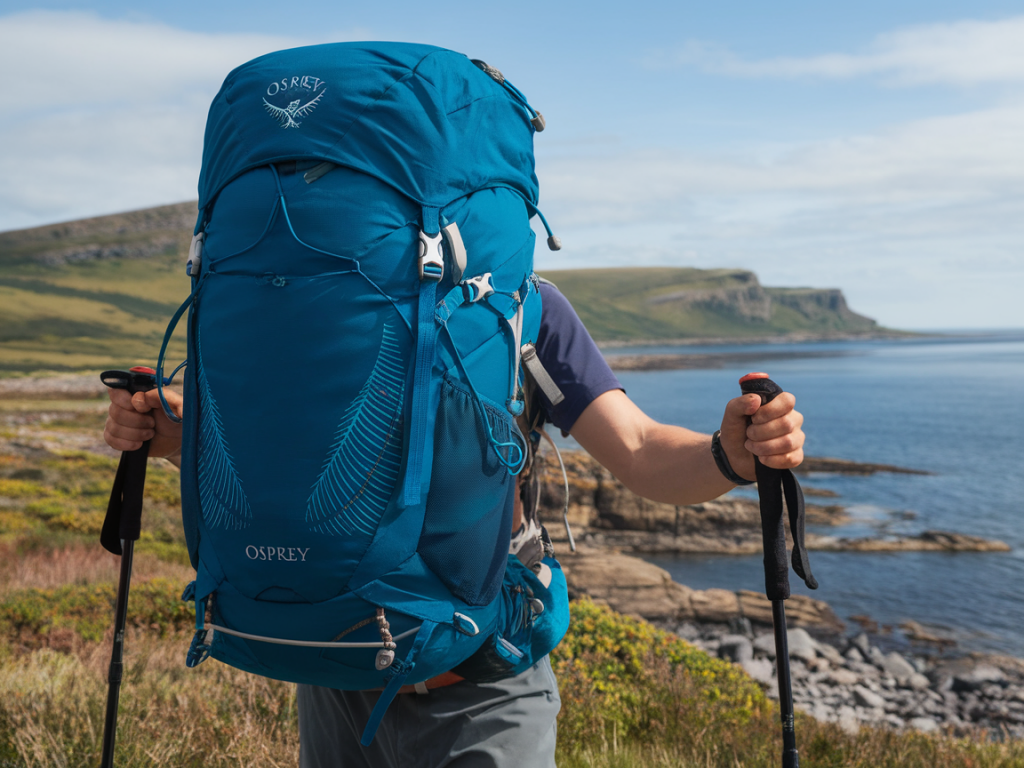
When I talk about Osprey’s bagging system I’m referring to how the pack carries weight—suspension, hipbelt, load-lifters, backpanel shape and the pockets/attachment points that let you organize and access kit. For coastal photographers this matters as much as the camera itself. You need a pack that stabilises a camera weight close to your centre of gravity, keeps lenses protected, and helps you manage layers and food throughout a long day.
Why Anti-Gravity (AG) suspension matters for long coastal walks
Osprey’s Anti-Gravity suspension is the headline feature I keep coming back to. It’s essentially a floating mesh backpanel that spreads weight across your back and hips, with a continuous wrap from the shoulders down to the hipbelt. For a photographer this gives three immediate benefits:
- Comfort over long distances — the weight feels distributed and doesn't dig into a single point. On exposed headlands where I often end up carrying weatherproofs, camera, lenses and food, that distribution keeps my pace steadier through the afternoon.
- Ventilation — the mesh creates airflow so I sweat less. That’s underrated: less moisture means less slippage and better fit, which improves stability when I’m walking along narrow cliff-top paths.
- Stability in flighty wind — coastal winds can tug a pack. The AG wrap keeps the load closer to your spine and reduces pendulum motion when you bend down to set up a shot.
How Osprey’s pocketing and attachment points help photographers
An Osprey with the right pocket layout becomes a mobile darkroom of sorts. I want quick access to camera gloves, filters, lens cloths, and my smaller lens. Key features I look for and why they matter:
- Hipbelt pockets — perfect for a phone, small prime lens or spare battery. I can swap batteries without stopping for a full unpack.
- Top lid or front panel access — some models have a removable lid that doubles as a daypack (Aether/Ariel’s lid or the Talon/Tempest daypacks). That’s useful when I want to drop basecamp for a short photo loop without carrying the whole load.
- Multiple compartments and internal organisation — a padded camera insert or a simple cloth bag separates fragile kit from hiking essentials. I use soft pouches for lenses within the main compartment and keep filters in a small hard case in the hipbelt pocket.
- External attachment points and stow-on-the-go — tripod attachments that are quick to use, trekking pole stowpoints and daisy chains make it easy to strap a compact tripod or monopod without stressing the main compartment.
Real-world adjustments that make a difference
Buying an Osprey isn’t where the work ends — tuning it properly is everything. Here’s my step-by-step process before a long coastal day:
- Set the hipbelt — the hipbelt should carry roughly 60–70% of the pack weight. I tighten it so the pack sits snug on my hips, not my lower back.
- Adjust shoulder straps and load lifters — shoulder straps should be snug but not bearing the majority of weight. Load lifters (the straps that angle from the top of the shoulder strap to the pack body) should be at roughly 45°. This keeps the load close to my spine.
- Stabilise with the sternum strap — move it up or down for comfort and clip it so the shoulder straps don’t slip. I leave it slightly loose for long walking sections and cinch it when crossing narrow scramble lines.
- Use compression straps — compress the load so nothing shifts while walking. I compress vertically and horizontally to keep lenses and camera bodies from sliding around.
Packing tips specific to photographers on coastal routes
How you pack matters as much as the pack itself. Here’s my photographer-specific checklist for long coastal walks:
- Camera at the centre — keep the heaviest item (usually a camera body with a small lens) close to your spine. I wrap it in a soft pouch and pack it in the middle of the main compartment.
- Lenses low and tight — place longer lenses along the backpanel to keep weight centralised. I use padded sleeves or clothes for extra protection.
- Quick-access items forward — filters, lens cloth, map and snacks go in top or front pockets.
- Weather layering on top — waterproofs and fleece go in the lid or outer pockets for easy reach when the weather shifts.
- Use a small camera cube or insert — if you don’t want a dedicated photo pack, a camera cube inside an Osprey daypack makes for a versatile system that still benefits from AG comfort.
Comparing a few Osprey models for coastal photographers
| Model | Best for | Why I’d choose it |
|---|---|---|
| Aether/Ariel (AG) | Multi-day coastal trips with heavier kit | Large capacity, removable lid/daypack, superb AG support and lots of pockets for camera organisation. |
| Atmos/Tempest (AG) | Day hikes with more comfort and ventilation | Excellent ventilation, lighter than Aether, plenty of pockets and hipbelt storage for small gear swaps. |
| Talon/Tempest | Fast day hikes and minimal gear | Slimmer profile, good pockets and stow-on-the-go for poles, but less padding for heavy camera loads. |
What I’ve learned on the cliffs
On a windy morning near Pembrokeshire I used to arrive at a headland more tired than I expected and with my camera bag hanging oddly on my shoulders. Since switching to an AG-equipped Osprey and adopting better packing habits I notice fewer mid-walk breaks and sharper photos because I’m not compensating for discomfort. The pack holds its shape when I kneel for a low-angle shot, and the hipbelt pockets mean I can change batteries with one hand while balancing on a rock.
There are trade-offs: AG packs can be heavier than ultra-lighters and some photographers prefer purpose-built camera packs for ultimate protection and faster access. But for me the balance of comfort, organisation and the ability to carry both hiking and camera kit without swapping bags mid-trip makes Osprey’s bagging system the practical choice for long coastal walks.
Practical quick checklist before you head out
- Check hipbelt fit and load lifters.
- Compress your load so nothing shifts.
- Keep batteries and filters in hipbelt pockets for quick access.
- Attach tripod or monopod securely using the pack’s straps.
- Carry camera in a soft pouch centrally rather than loose inside the top pocket.
If you’re swapping between a dedicated camera pack and a hike-ready pack like an Osprey, try both on a local shoreline before committing to a longer route. The right fit and a few simple packing tweaks make a surprising difference — suddenly the coastline feels less like an endurance test and more like a day of exploration where your pack simply gets out of the way.