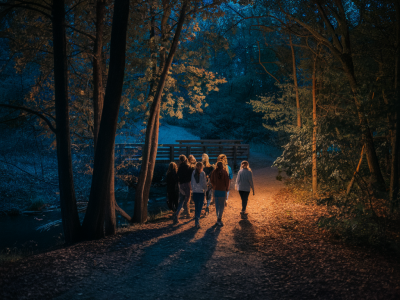
When I first organised a litter-pick on the village green near where I live, I expected to spend an hour collecting crisp packets and beer cans. What I didn’t expect was how quickly a simple community tidy-up would lead to conversations about the hedgerow, sightings of rare moths and the idea of adding a basic habitat survey to our regular rota. If you want to start something similar where you are, here are straightforward, practical steps that will get you from “let’s clear some rubbish” to running a regular litter-pick that also monitors local wildlife and habitats.
Why combine litter-picking with a habitat survey?
Litter-picks are visible, immediate acts of care. They bring people together and improve the look and safety of a place. Adding a habitat survey turns that goodwill into information: you record what’s living in the green spaces, spot changes over time, and can direct conservation effort where it’s most needed. In short, you clean and collect data—it’s satisfying and useful.
Get the permissions sorted first
Before you recruit volunteers, check who owns or manages the land. Village greens are often managed by parish councils, town councils or local trusts. Email or visit the council and explain your plan: a regular litter-pick and a simple habitat survey. Ask about insurance requirements, waste disposal arrangements and whether you need a formal risk assessment. Most councils are supportive and may provide refuse bags or arrange collection of filled sacks.
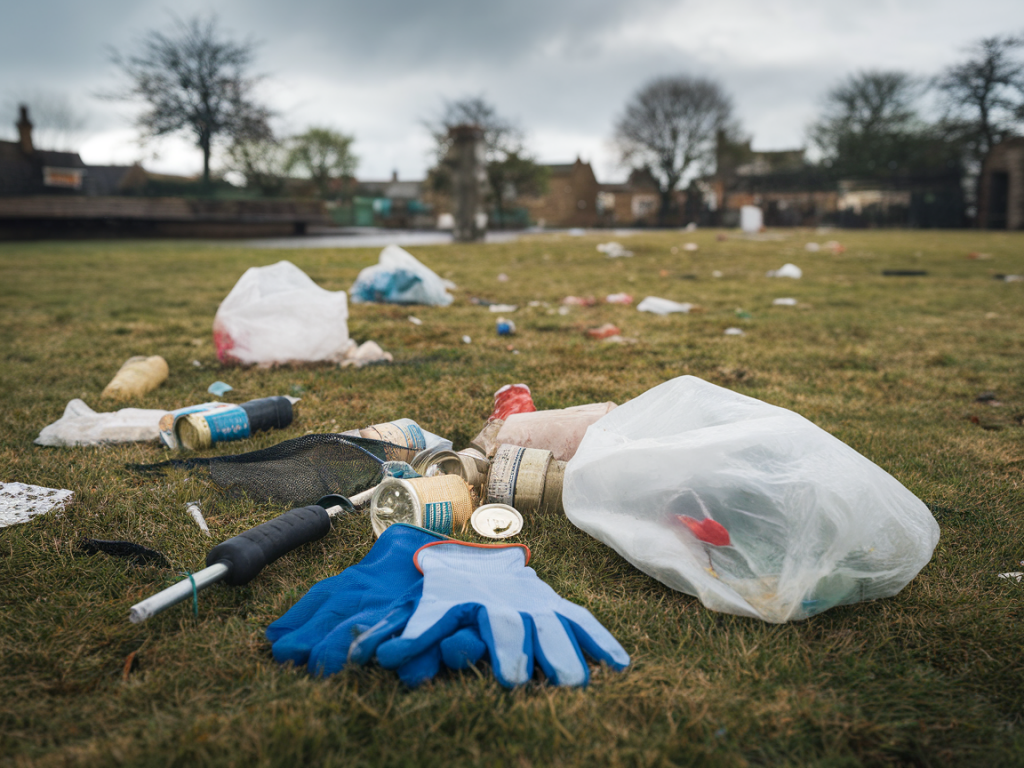
Gather a small kit — nothing fancy
For a combined litter-pick and survey, you don’t need pro equipment. I keep things simple and practical:
You can mention brands: I use a couple of Fiskars litter pickers and reusable Vango gloves for durability, but cheaper options work fine. Encourage volunteers to bring sensible footwear and clothing suited to UK weather.
Design a simple habitat survey
Your survey should be quick and repeatable. I recommend a short sheet with a few targeted sections:
Keep categories broad so volunteers with limited ID skills can still contribute. For example, ask people to note “butterflies” rather than trying to separate every species. Over time, as confidence grows, you can expand the list.
Run your first session — structure matters
At our first event I followed a simple flow that I still use:
Keep sessions short and sociable. Finish with a hot drink if you can — people are more likely to return if there’s a friendly wrap-up.
Record and share what you find
Recording matters. A notebook under the arm is fine, but digital submission makes data more useful. I use iRecord and iNaturalist for species observations; they both link into national databases and offer ID help. For litter data, use a simple spreadsheet with date, area, and counts of common items. Over months you’ll spot trends (e.g., an increase in takeaway containers near a bus stop) and can raise these with the council.
| What to record | Why it’s useful |
|---|---|
| Species sightings (photos if possible) | Helps track biodiversity and supports local conservation efforts |
| Habitat condition notes | Shows changes over time and where improvements are needed |
| Litter type and counts | Identifies problem items and informs targeted campaigns |
Engage the community and partners
Promote the event via parish newsletters, local Facebook groups and the village noticeboard. Posters in the pub and shop reach people who aren’t online. Invite local schools — many teachers welcome outdoor activities that support curriculum learning. Contact nearby wildlife groups, the local ranger, or a county recorders’ group; they can offer training or help verify records.
Keep it safe and legal
Do a basic risk assessment: consider trip hazards, sharps, water hazards, dog interactions and road crossings. Provide gloves and litter pickers so people don’t handle sharps. If you find needles or hazardous waste, don’t pick them up — note the location and report to the council. Make sure children are supervised and have clear roles.
Make it regular and flexible
Try a monthly schedule to build momentum. Some months focus on litter, others on seasonal surveys (spring wildflowers, autumn fungi). Keep records in a shared Google Drive so newcomers can see past findings. Celebrate milestones like “100 bags collected” or a rare species sighting — these stories attract volunteers and local media.
Practical tips from the field
Running a combined litter-pick and habitat survey has been one of the most rewarding things I’ve done locally. It’s practical and low-cost, brings neighbours together, and slowly builds a clearer picture of the wildlife and pressures in our shared spaces. If you’d like, I can share a sample survey sheet or printable risk-assessment template to get you started — drop me a message via the Outdoorangus Co contact page.