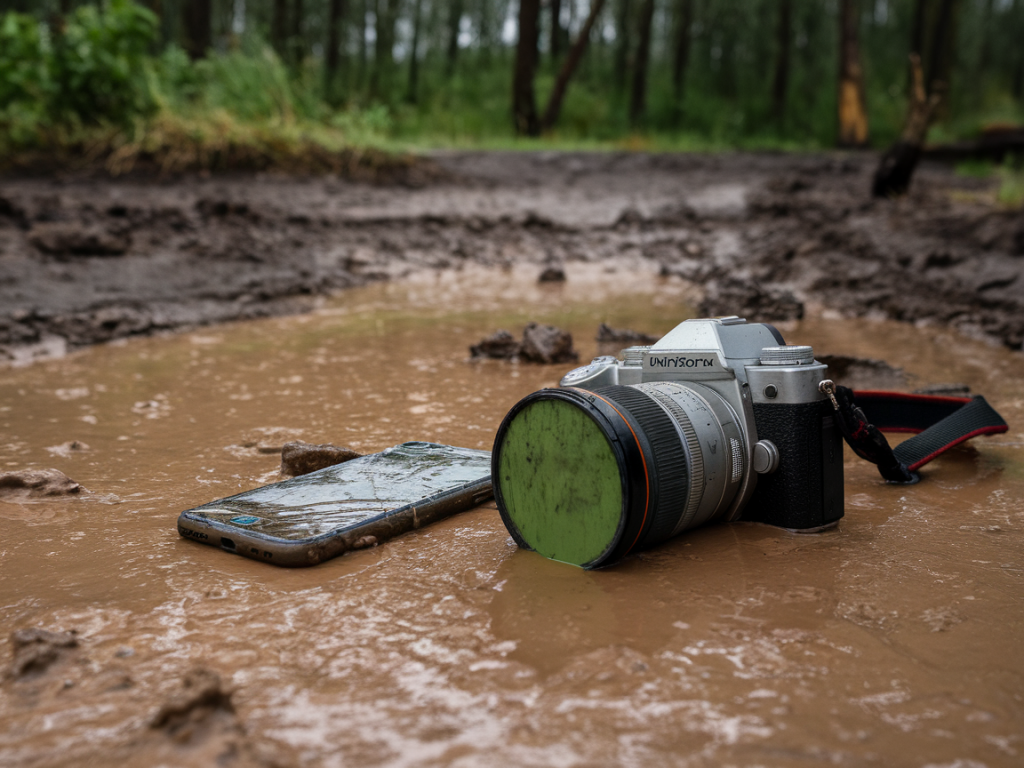
I have a habit of finding the muddiest, rainiest paths on purpose. Inevitably, that means I’ve had my fair share of close calls with cameras and phones that look as if they’ve been through a peat bog. Over the years I’ve learned a handful of practical steps that actually make a difference when a device is waterlogged or splashed with mud—how to minimise further damage, recover shots, and decide when to DIY and when to hand things to a pro. Below I’ll walk you through what I do on the trail and at home, what to avoid, and the tools that have saved me more than once.
Immediate actions on the trail
Right after a dunking or a heavy mud-splash, the first things I do are simple and fast—these initial steps hugely increase the odds of getting everything working again.
Turn it off immediately. For cameras and phones, power is your enemy when water is inside. Switch off and don’t try to turn it back on to “see if it works.”Remove the battery and memory card. If your camera has a removable battery and SD card, take them out and put them somewhere dry and safe. On phones, put the device into airplane mode then power off if possible; take out any SIM or microSD if accessible.Rinse mud with clean water only if the mud is salty or full of grit. Freshwater mud can be left to dry first; salty sea spray or grit should be rinsed off with clean freshwater to avoid corrosion keyed into electronics.Blot, don’t rub. Use microfibre cloths or tissue to dab away mud and water; rubbing pushes grit into crevices.What not to do
I’ve been tempted to use a hairdryer on full power (don’t) and to stick a camera in rice (more on that later). Avoid these common mistakes:
Don’t apply heat or compressed air into ports and seams—high heat warps seals and blasts water deeper into sensitive areas.Don’t shake the device hard. That can spread water to other components or force it into the sensor area on interchangeable-lens cameras.Don’t power on the device until you’re confident it’s dry. A faint tick or short circuit can irreparably damage electronics.Controlled drying: practical methods that work
Once I’m back from the trail and in a dry environment, I follow a staged drying approach. The goal is to remove moisture gently and completely, without stressing seals or electronics.
Use silica gel packs. These are my go-to. Large, reusable silica pouches (like those from REUSEABLE Silica Gel or Decathlon) in a sealed box along with the device will absorb moisture without the risks of heat. Leave for 48–72 hours; longer if it was submerged.Vacuum dry if you have one. A small, low-pressure vacuum can help draw water out of ports and crevices. I use a vacuum with a soft brush attachment and keep it gentle—never attempt a high-suction shop vac on delicate devices.Professional drying kits. There are purpose-built drying chambers and kits (sometimes called desiccant drying boxes) used by camera repair shops. These speed up safe drying and are worth it if you own a high-value camera.Avoid uncooked rice. Rice is better than nothing, but it’s inefficient and the starch/dust will introduce contaminants. Silica gel is far superior.Cleaning lenses, mounts and connectors
After the device feels dry, I inspect and clean carefully. Lenses and sensor areas need special attention.
External grime: Use a microfibre cloth and a small amount of lens cleaner to remove splashes. Cotton buds are useful for rims and grooves.Lens mounts and electrical contacts: Clean gently with a dry, lint-free cloth. For stubborn residue use isopropyl alcohol (90%+), applied sparingly to a swab—only on contacts.Sensor care: If you see spots on images after drying, do a sensor check and a safe mode sensor clean. If you’re uncomfortable, don’t attempt wet sensor cleaning—send it to a technician. For mirrorless or DSLR cameras I use the camera’s built-in sensor clean first, then a dry swab if needed.Recovering photos from cards and phones
Salvaging the images is often my highest priority. Memory cards and phone backups make recovery possible even when the device is beyond repair.
Don’t write new data. Immediately stop using the card or phone storage. Taking more pictures will overwrite recoverable files.Use card readers. Remove the SD card and read it with a USB card reader on a laptop. Card readers are less risky than plugging the camera directly in.Recovery software. I’ve had success with tools like PhotoRec (free), Recuva (Windows), and paid options like Stellar Photo Recovery and Disk Drill. For RAW files, PhotoRec and Stellar are reliable, and many photographers prefer Adobe Lightroom to import and salvage usable files.Phone backups. If you use iCloud, Google Photos, or OneDrive automatic backups, check those first—most phones back up images automatically if set up. If the phone is dead, these cloud backups are often the simplest route.When to call a professional repair service
Sometimes the DIY route isn’t worth the risk. I send gear to repair in these cases:
Saltwater immersion. Saltwater corrodes quickly and often requires a full strip and ultrasonic cleaning by a pro.Powering on after an incident resulted in smoke, abnormal sounds, or burning smells.Expensive equipment (full-frame bodies, pro lenses, high-end phones) where the cost of replacement is high compared to repair.For camera repairs I’ve used manufacturer service centres (Canon, Nikon, Sony) for warranty or certified repairs. Independent shops with good reputations in the local photography community are often faster and cheaper for out-of-warranty work. For phones, manufacturers and specialised phone repair shops often have different strengths—ask about data-preservation policies before handing the device over.
Preventive measures and kit I always carry
I try to be avoidant of future disasters by preparing properly for wet, muddy conditions:
Rain covers. A simple plastic rain cover or a purpose-made cover like the Think Tank Hydrophobia or Outdoor Research’s gear keeps cameras dry in heavy showers.Waterproof pouches for phones. A cheap, clear waterproof pouch allows me to use the phone for navigation and photos while keeping it protected.Spare memory cards and batteries. I carry extras sealed in a dry pouch—so a single accident doesn’t cost me my day’s shooting.Silica gel and microfibre cloths. Small packets and cloths live in my rucksack at all times.Pelican or other waterproof cases for travel. When I know I’ll be around peat, sand or sea spray, a hard waterproof case is peace of mind.How I handle damaged shots in post
Once I’ve recovered files, there’s often work left to do. Mud splashes and water can leave stains, spots, and colour casts—especially with RAW files.
Start in Lightroom or Capture One. RAW files give you the best latitude to correct exposure and white balance. Use spot removal, clone/heal tools, and the local adjustment brush for stubborn marks.Use Photoshop for complex repairs. When spots fall on important areas like a bird’s eye or a textured rock, Photoshop’s content-aware fill and clone tools can be lifesavers.Colour casts from water damage: use targeted HSL adjustments and white balance tweaks. If a file shows colour shifts, pulling back saturation in certain channels can restore a natural look.Getting splashed and soaked isn’t fun, but with calm, practical steps you can often revive your device and rescue the photos that matter. I still cringe when I retrieve a mud-caked camera from my rucksack, but those moments have taught me the methods above—and more importantly, nudged me toward better prevention. If you want, I can share a printable checklist you can keep in your rucksack for the next muddy walk.