Why I convert a cheap action camera for hidden trail recording
I've spent thousands of hours walking the UK’s trails and watching how mammals and birds behave when they think no one is around. Trail cameras are great, but they can be expensive, and I often want something lighter, cheaper and more flexible for short projects — a weekend stakeout of a badger sett, a hedgerow to see fox activity, or a coastal scramble to catch nesting seabirds arriving at dusk. Converting a low-cost action camera into a hidden trail wildlife recorder gets me closer to the action with gear I already own. It also forces me to think carefully about ethics, concealment, and battery life — all part of good fieldcraft.
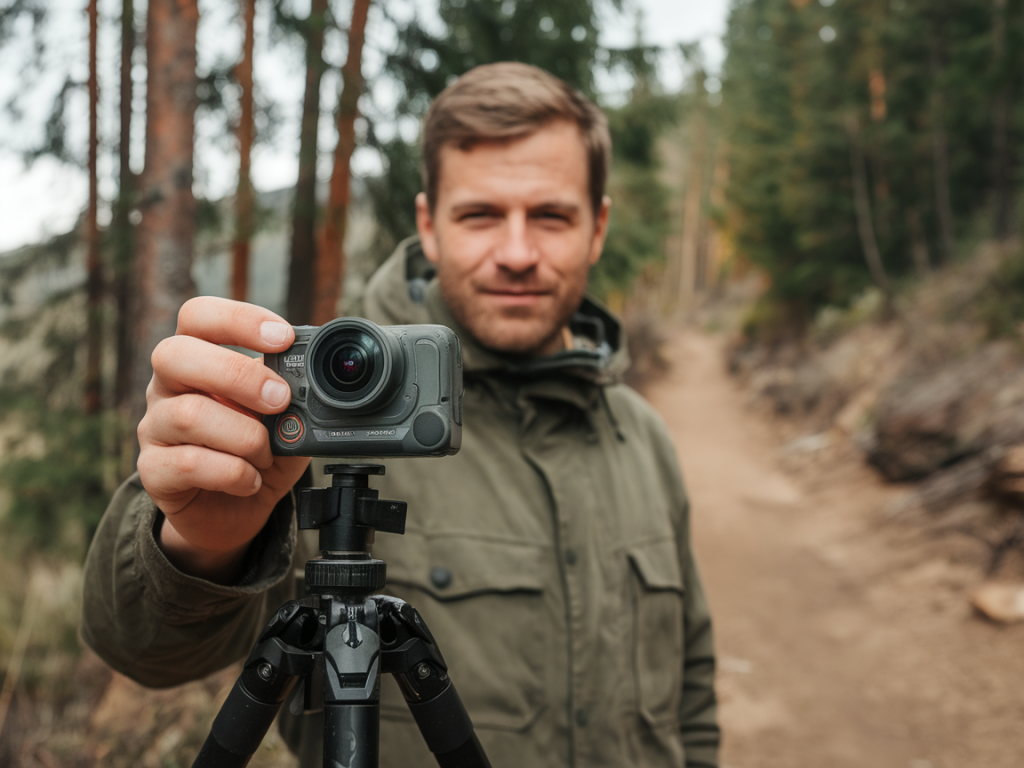
Choosing the right cheap action camera
Not all action cameras are equal for this job. Look for a model with these features:
Decent battery life — the longer the internal battery lasts, the less often you have to visit the site (and potentially disturb animals). Many sub-£150 cameras can only manage 60–90 minutes of continuous recording, so plan for external power.1080p at 60fps or 2.7K/30fps — 4K drains power and fills cards fast. For wildlife, 1080p60 is a sweet spot: smooth enough for movement, lower file sizes, and better low-light performance on cheaper sensors.External power via USB — critical for long deployments. A camera that can record while charging via USB makes the whole setup viable.MicroSD support up to large sizes — aim for at least 64–128GB and a V30 or better card for stable recording.Physical tripod or gorilla pod thread — a 1/4"-20 mount or compatible adapter lets you attach the camera to many DIY rigs.Brands I’ve used with reasonable success include GoPro (older models cost less used), DJI Osmo Action, and budget makers like Akaso or Crosstour. The latter are cheap and imperfect, but with the right hacks they can be excellent for short-term observation.
Settings that help you capture wildlife (and save battery)
Once you have a camera, tweak these settings before heading out:
Resolution and framerate: 1080p at 50–60fps for mammals and birds; use 30fps for stationary time-lapses.Field of view: Use a medium or narrow FOV if you want more subject detail and less wasted background. Wide FOV drains visual resolution on small animals.Image stabilization: Turn it off if the camera is mounted on something rigid — stabilization can increase power draw and cause weird crop issues when the camera is hidden.Auto ISO and exposure: Leave auto exposure on, but set a maximum ISO (e.g. 800) to limit noise in low light.Loop recording: Turn it off unless you want the camera to overwrite old files; I prefer to keep everything until I collect the card.Motion detection: Few cheap action cams have reliable onboard motion triggers. Some do offer ‘motion detect’ video modes — test these thoroughly before trusting them.Time-lapse / interval shooting: For longer monitoring, an interval mode (one frame every 2–10 seconds) can capture activity while using much less power and memory. Later you can convert frames into a timelapse or examine individual frames.Mounts and concealment: simple, robust and reversible
How a camera is mounted determines what you'll record and how discreet you are. I always choose reversible fixes that don’t damage habitats.
GorillaPod on a branch: A small flexible tripod (GorillaPod) wrapped around a branch is quick and non-invasive. Bag the camera in a small camo sock or a stretch gaiter to reduce shine.Velcro strap & 1/4-inch adapter: Many cheap cams accept a 1/4" thread. Use a short aluminium bracket and wrap the whole assembly with carbon-pattern gaffer tape. Fasten with heavy-duty velcro or a wide cable strap.Hide in a faux log or bird box: I sometimes place the camera inside a homemade concealment box with a small peephole cut for the lens. Line the inside with non-reflective paint and ensure ventilation for heat.Tree trunk mount with zip ties: A short L-bracket bolted to a backing plate can be zip-tied to a tree. Use rubber between the bracket and bark to avoid damage. Do not permanently alter trees or disturb nests.Ground hide: For low-angle shots of badger paths, bury a shallow tray and mount the camera at ground level concealing it with leaves and turf. Keep the lens unobstructed and make sure moisture won’t pool on it.Battery hacks for long deployments
Battery life is the single biggest limitation of action cameras. Here are practical, field-tested tricks I use:
External power bank: Choose a power bank rated for at least 10,000 mAh. Wrap it in a waterproof dry bag and run a short USB cable into the camera housing. Tape the cable entry with self-fusing silicone tape to keep water out.Low-power interval shooting: Use interval mode to reduce continuous draw. A camera that would last 90 minutes recording continuously can often last a day or more in timelapse mode.Use a battery eliminator: For some models you can replace the internal battery with a dummy battery and feed power directly from a USB source. This is model-specific and should be done carefully to avoid damage.Solar trickle charging: For very long sits in accessible places, a small foldable 10W–20W solar panel feeding a smart power bank can top up charge through the day. Keep panels camouflaged and secure.Power schedule with smart power banks: Some power banks have an auto-off when draw is low. Buy one with “always-on” mode or a timed UPS-style bank intended for CCTV use so your camera won’t shut down between triggers.Storage, file management and reliability
File integrity and storage speed matter when you’re away from the camera for days.
Use V30 or better microSD cards: UHS-I U3 / V30 cards (Samsung Evo Plus, SanDisk Extreme) handle continuous video without dropped frames.Format in camera: Always format the card in the camera before field use to reduce file errors.Redundancy for long projects: Consider swapping cards daily if possible, or use two cameras staggered so you always have overlapping coverage.Legal and ethical considerations
Recording wildlife comes with responsibilities. I follow a few simple rules:
Minimise disturbance: Place and check cameras at times that don’t coincide with sensitive breeding or roosting periods. Don’t place cameras inside active dens or nests.Respect privacy: Never point a camera at private property, farm buildings, or places where people have a reasonable expectation of privacy. If in doubt, ask landowners.Leave no trace: Use non-permanent mounts, remove all fixings, and clean up when you retrieve your gear.Follow local law and permissions: Some protected sites or reserves require permission for unattended recording devices. Check before you go.Practical workflow for a typical stakeout
Here’s the quick workflow I use before leaving a camera on a trail:
Scout the site during daylight. Note likely animal paths, sightlines and human traffic.Test camera angle, exposure and motion capture with a quick walk-by. Adjust FOV and height.Set camera to 1080p60 or interval shooting, disable stabilisation, set max ISO and ensure USB power works while recording.Hide the camera using a camo cover or a box, secure the power bank, tape cable entries and label the setup with a discreet note for landowner contacts if needed.Log the coordinates and expected retrieval time. I use my phone to take a reference photo of the mount and leave no trace when I return to collect the gear.Converting a cheap action camera into a hidden trail recorder is a mix of creativity, careful planning and respect for the animals you’re watching. When done well it opens up new ways to observe behaviour that’s hard to see on foot — an evening fox patrol, a badger marking a sett, or an inquisitive stoat investigating the hedgerow. Keep your methods ethical, test everything at home, and you’ll be rewarded with footage that tells real stories from the landscape.